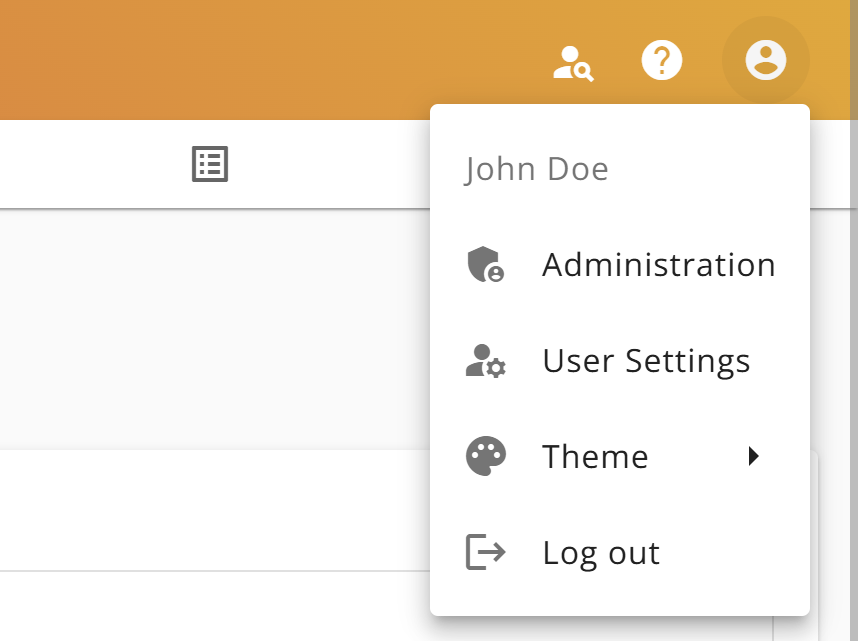
The Buuky administration is accessible via the menu in the right upper corner. Note: Only users with administration rights can access the Buuky administration. The different administration rights and how they are assigned are described here: User management
To configure the facilities, please open the "Facility Configuration":
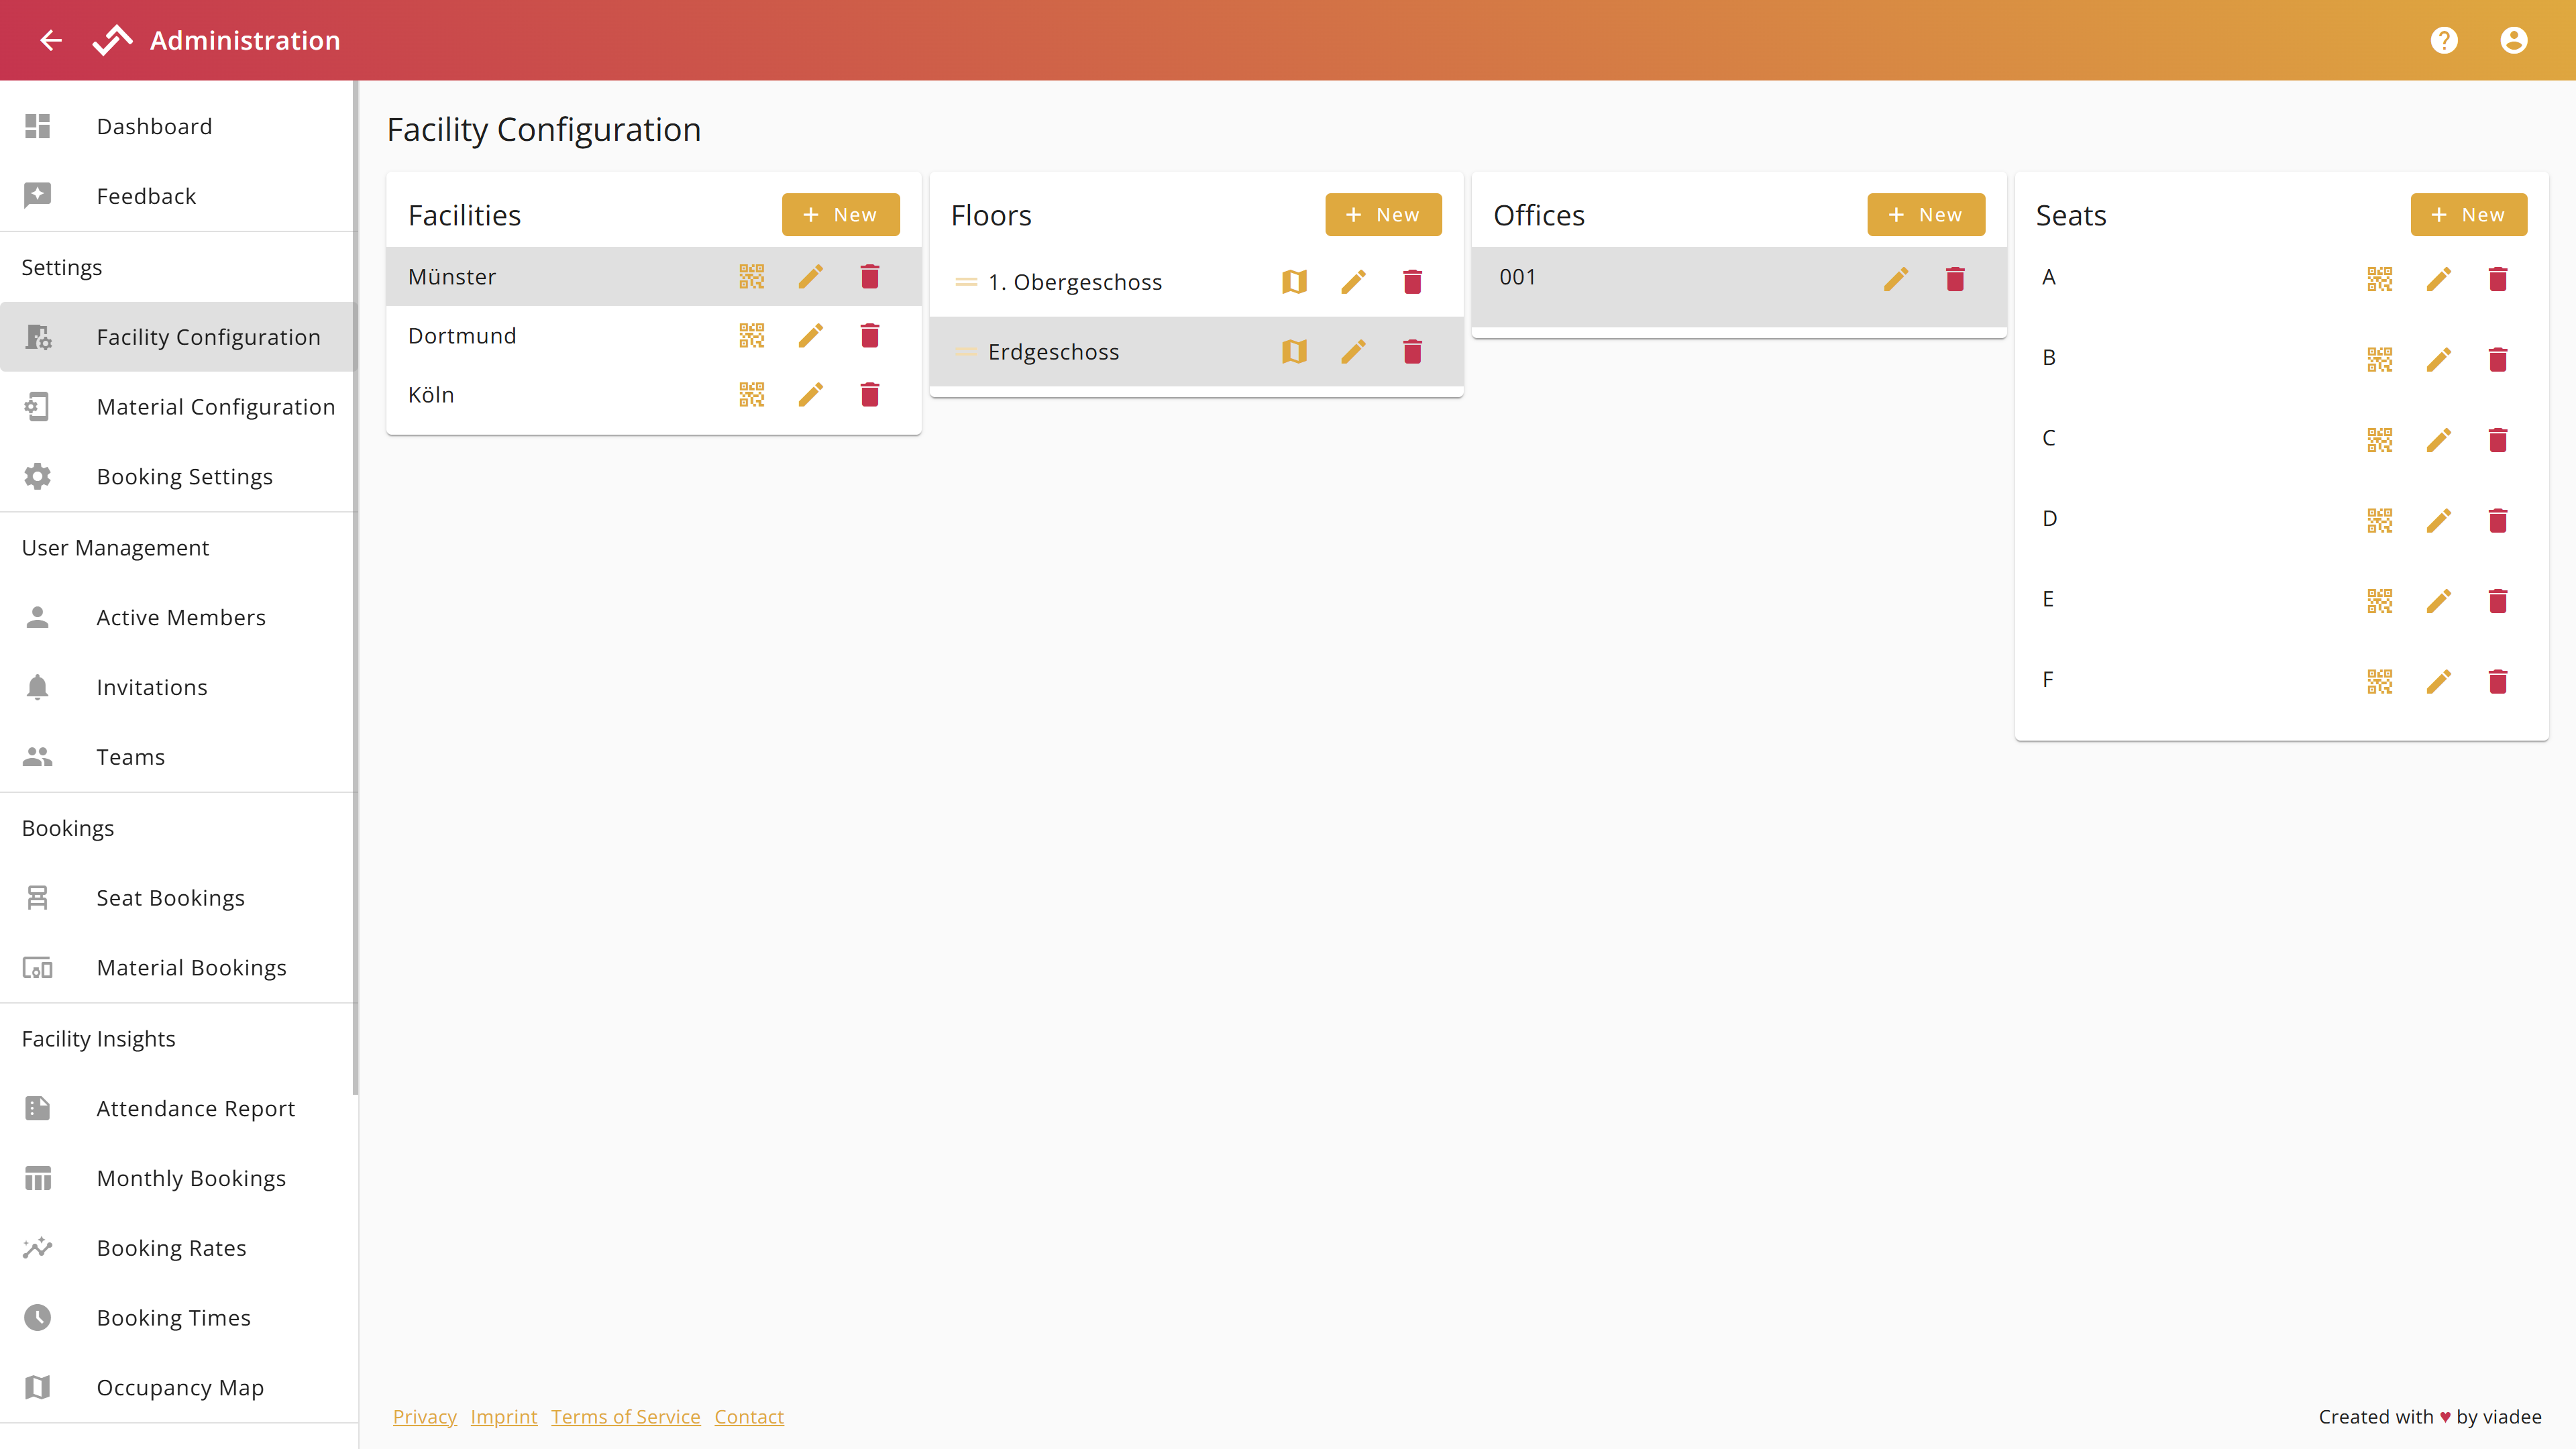
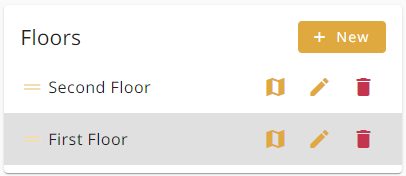
Seats are organized in a hierarchy as a of:
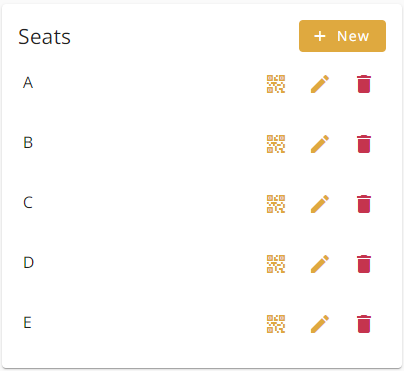
To configure these items, choose "+ New" for creating a new one or the pencil icon to open the edit dialog for an existing item.
To see items on a lower level, you need to choose one on the parent level. For example, to see the floors in Münster, you first need to click on the facility Münster.
The dialogs for the different items typically allow to set or change the name of an item. Depending on the type of the item, you can specify additional information:
| Item | Properties |
|---|---|
| Facility |
|
| Floor |
|
| Office |
|
| Seat |
|
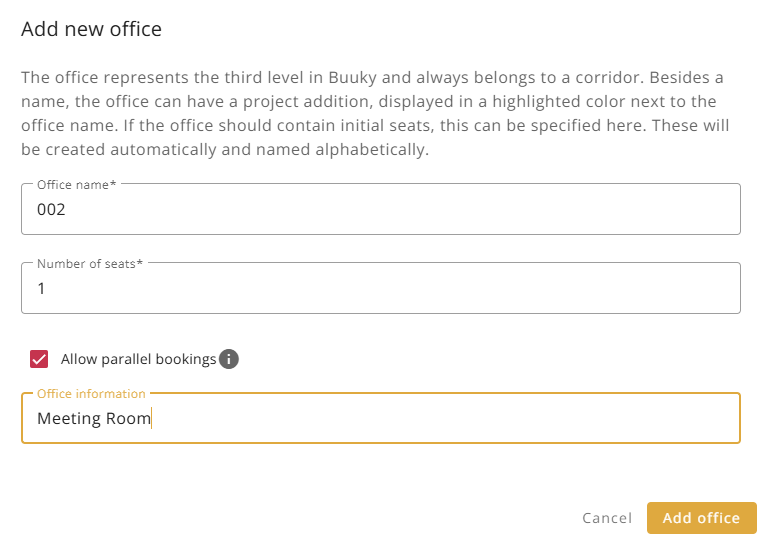
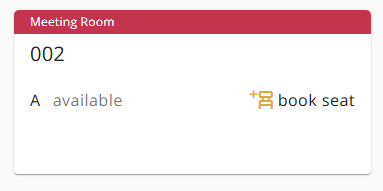
Meeting rooms are configured in the same way as other offices. To create a meeting room, add a new office with one seat on the desired floor and enable the “Allow parallel bookings” option. This setting allows users to book the meeting room in addition to their regular seat for the day.
Seats that support parallel bookings are marked with a “+” symbol on the seat icons and booking points on the map. For best visibility, place the booking point centrally within the meeting room on the map. You can also add office information, such as the meeting room name, which will be highlighted in red in the booking tile.
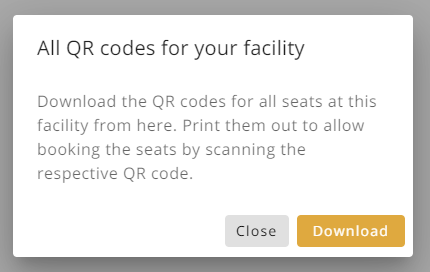
To generate a qr-code for every seat in a facility, please create all the seats first. Afterwards, click on the qr-code icon next to the name of the facility, for which you want to generate and download the qr-codes.

The qr-codes were now generated and a dialog is opened, in which the qr-codes can be downloaded.
To generate a qr-code for a specific seat, click on the qr-code icon next to the name of the seat.
The qr-code is now generated and a dialog is opened, in which the qr-code is displayed and can be downloaded.

Before creating a visual map, please create all seats, so that they can be later placed on the map. Afterwards, click on the map icon next to the name of the floor, for which you want to configure the map.
A dialog is opened, in which a map can be uploaded and configured.
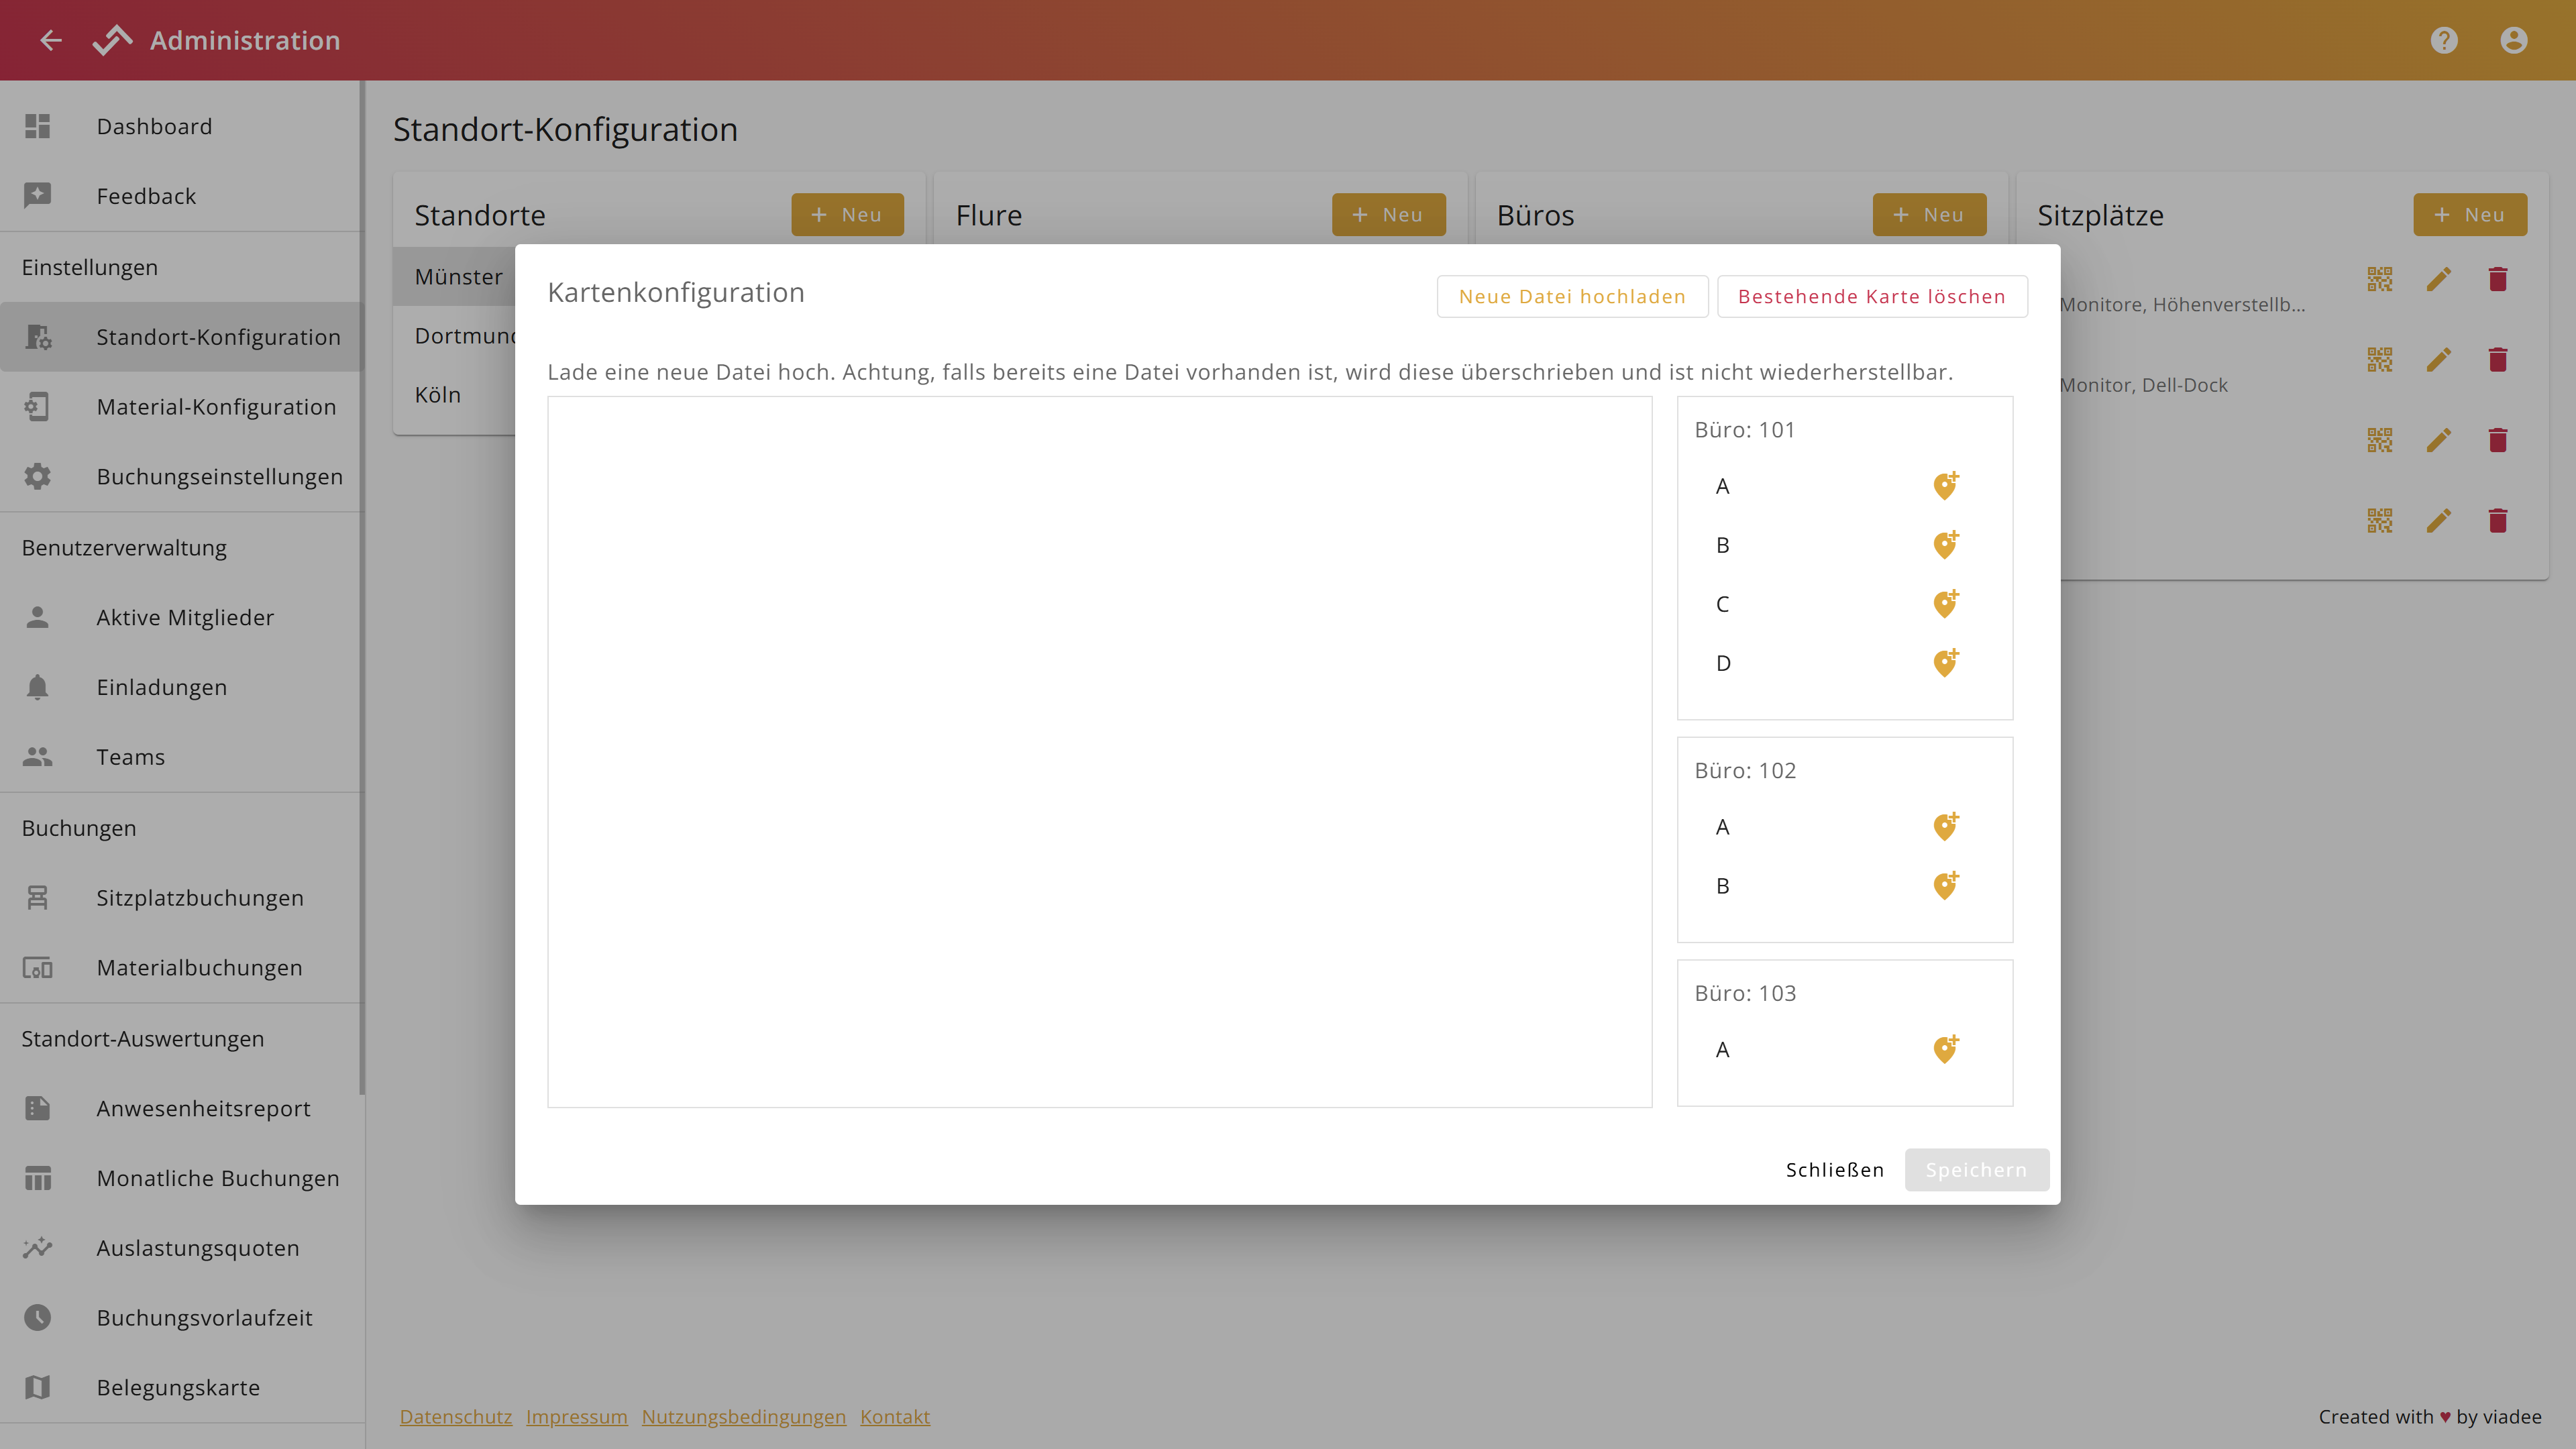
In the top right corner, click "Upload new file" and choose your local file displaying the map. The preferred file format is .png, but .jpg format is also supported. The file is automatically uploaded. Then, you can start placing your previously configured seats on the map.
On the right side of the dialog, click on the pin icon of the seat that you want to place on the map. For this seat, a small red circle will appear on the map. Now, you can drag and drop the circle to the position on the map, where the seat is located.
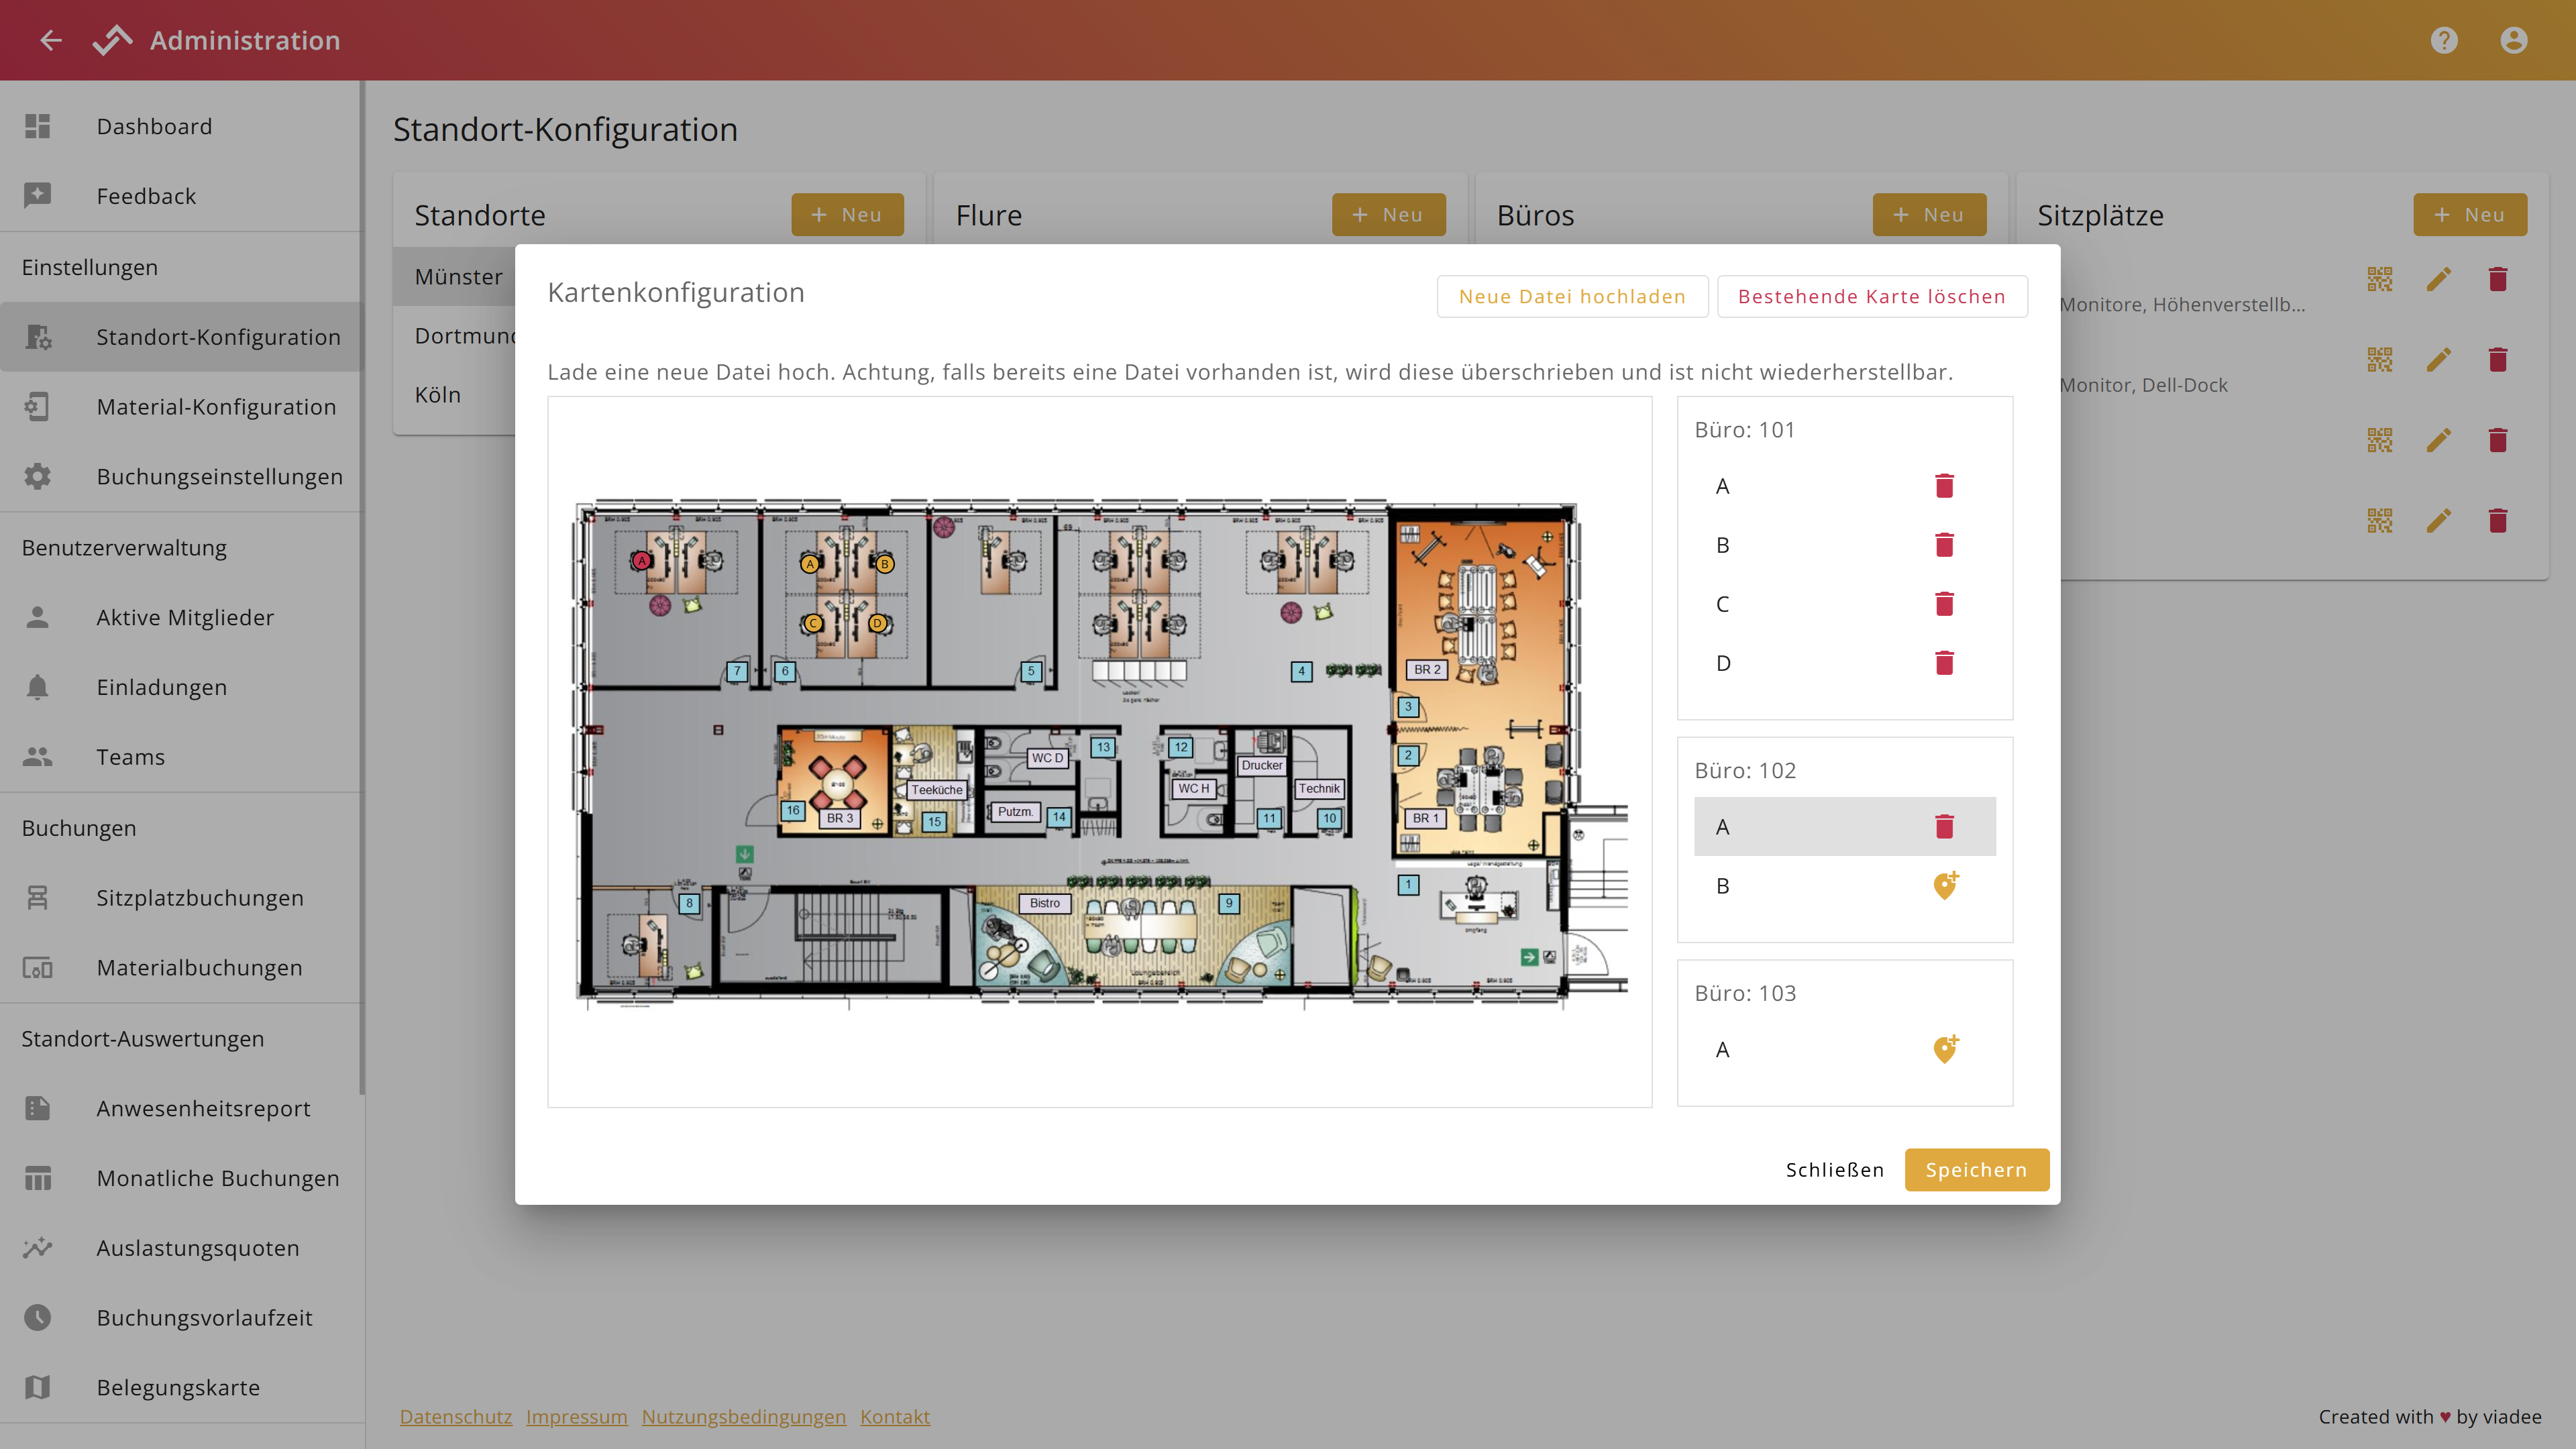
If you have multiple seat icons with the same label positioned on your map, you can click an icon and the appropriate seat will be highlighted on the right side of the dialog.
To remove a seat icon, click it and click it's garbage bin in the right sidebar.
