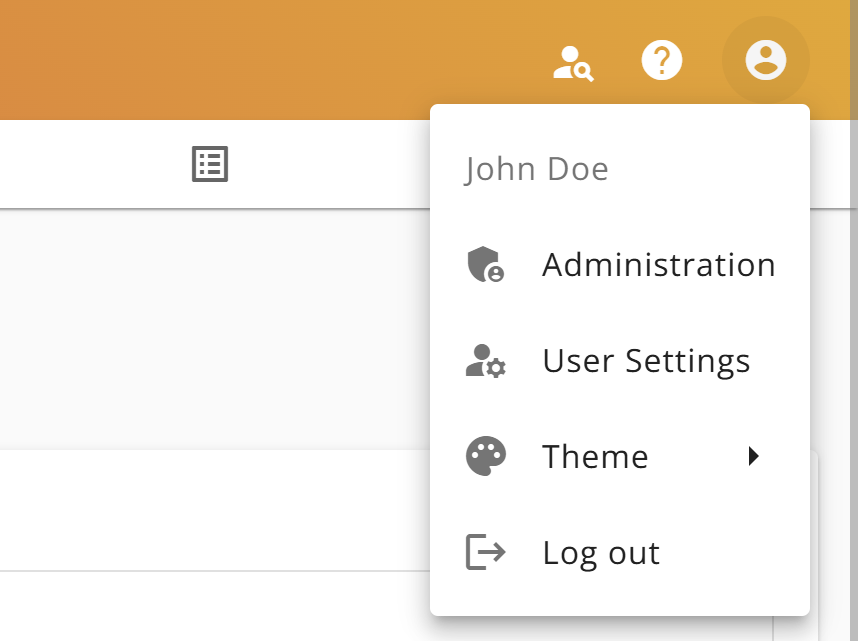
The Buuky administration is accessible via the menu in the right upper corner. Note: Only users with administration rights can access the Buuky administration. The different administration rights and how they are assigned are described here: User management
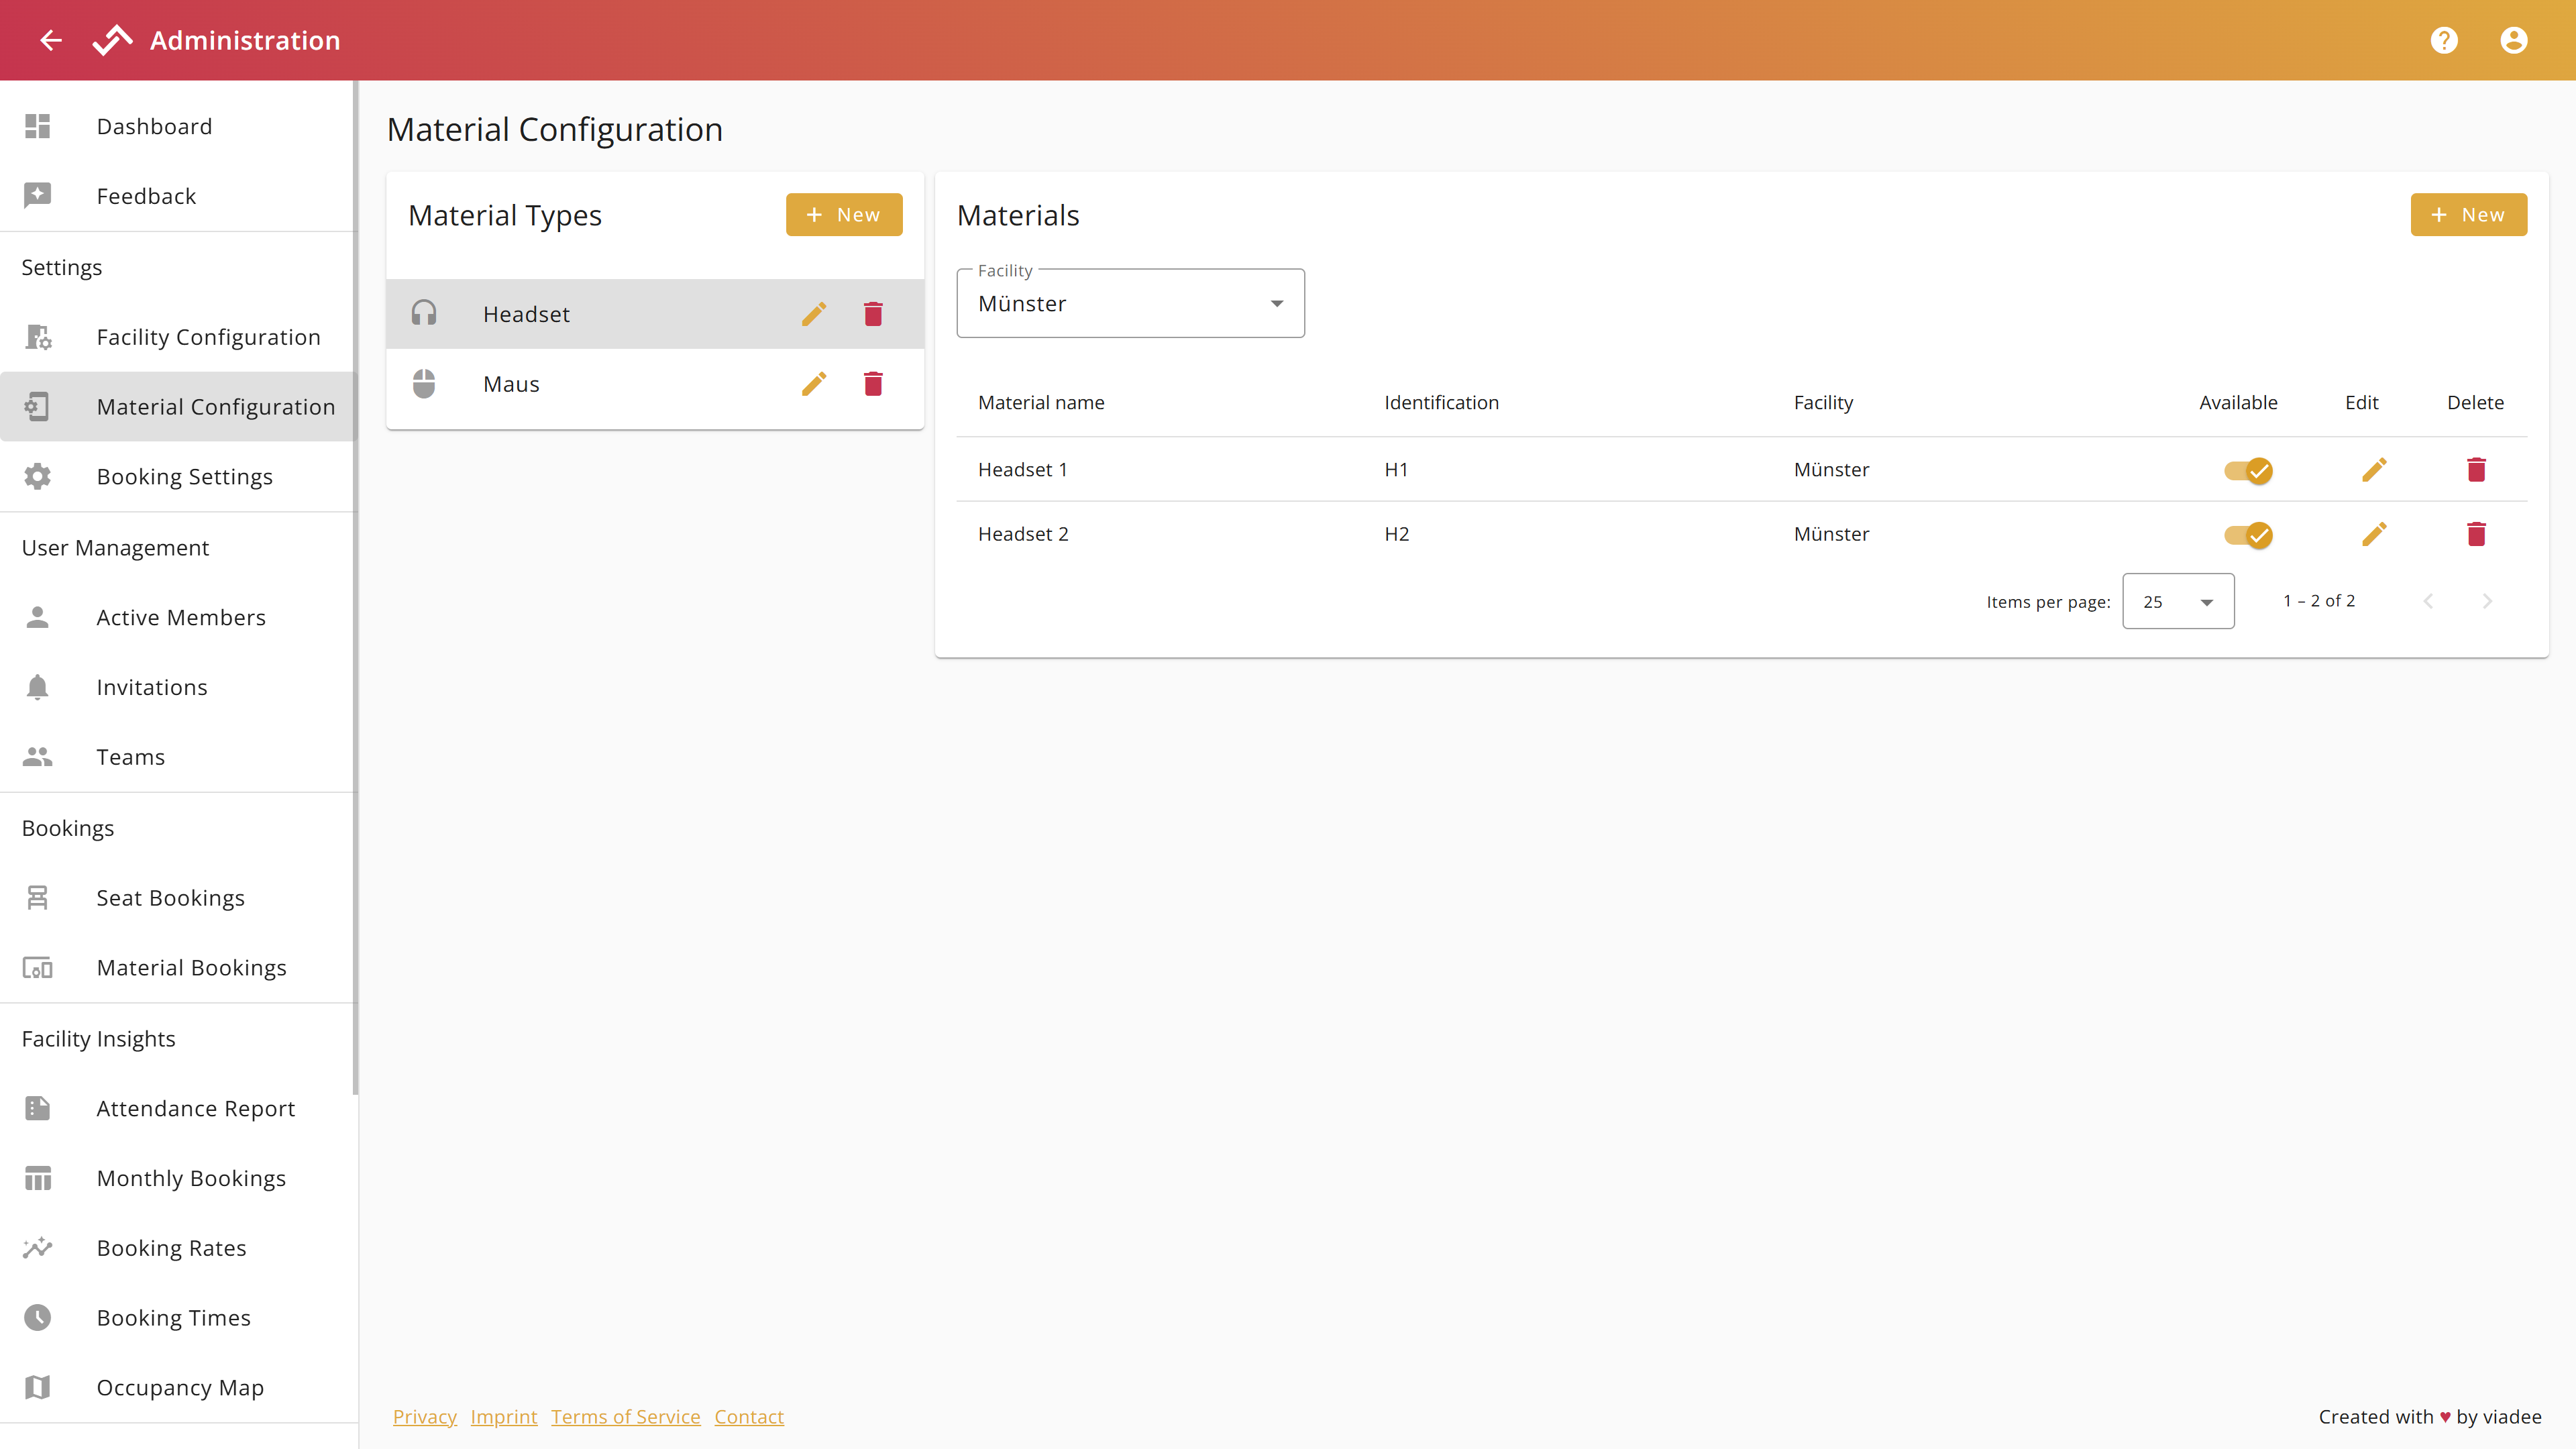
To configure the materials, please open the "Material Configuration":
Materials are organized in a hierarchy:
To configure these items, choose "+ New" for creating a new one or the pencil icon to open the edit dialog for an existing item.
To view materials, you must first select a material type. For example, to see all headsets, you must first click on the Headsets material type. After selecting a material type, the materials can also be filtered by facility using a drop-down menu.
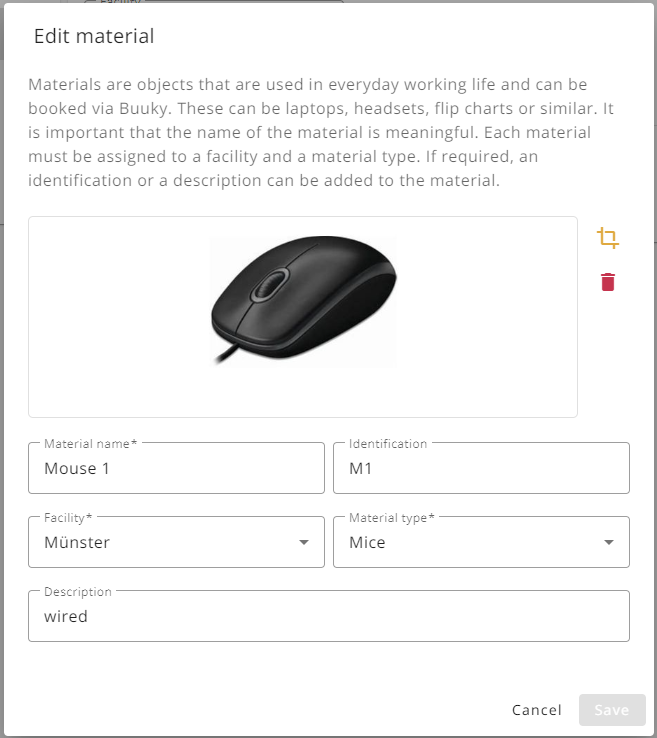
The dialogs for the different items typically allow to set or change the name of an item. Depending on the type of the item, you can specify additional information:
| Item | Properties |
|---|---|
| Material type |
|
| Material |
|
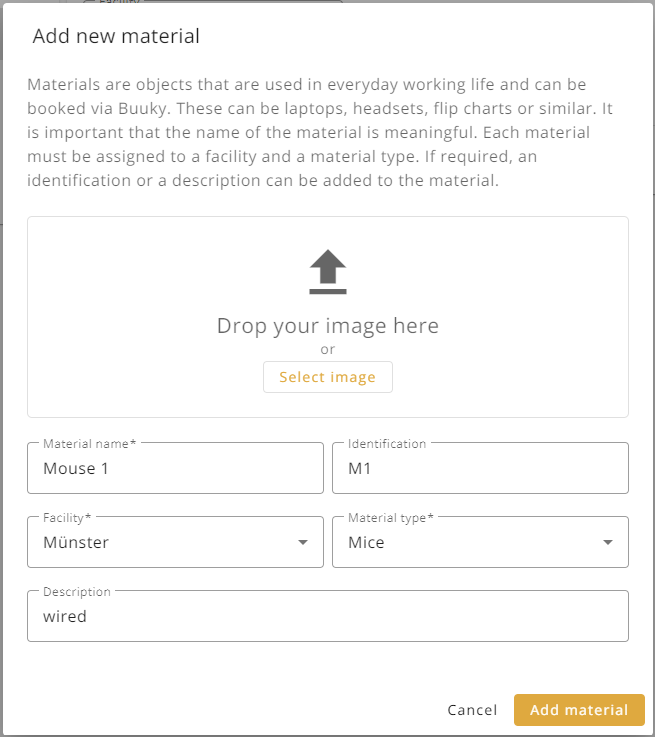
You can also add an image to the material in the dialog. To do this, either click on the “Select image” button and select the file from your computer or simply drag the image to the marked position in the dialog.
The image is then displayed and must be cropped to a square. You can adjust and move the cropping area or zoom the image using the mouse wheel. If you are satisfied with the preview, confirm the cropping with the tick on the right-hand side.
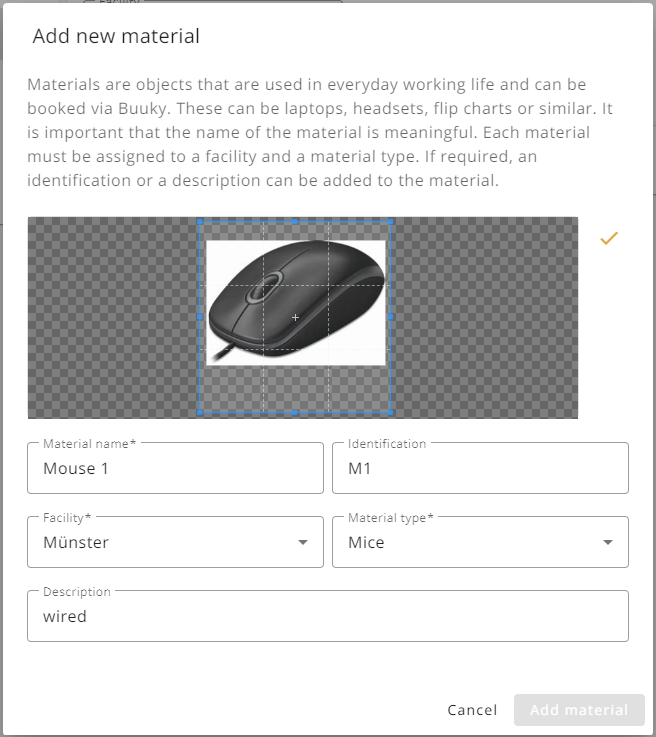
If an image already exists, you can use the buttons to the right of the image to either crop it further or delete it and upload a new one if necessary.
To duplicate a material, click on the “Copy” button associated with the material in the table. The configuration dialog opens with the material information filled in. This material can be duplicated as it is by clicking on the “Duplicate” button or the entries can be changed first.
The availability of the individual materials can also be managed via the material configuration. If, for example, the material is missing, defective or requires maintenance and is therefore not currently available, this can be set using the sliders in the material table.

To mark a material as not available, click on the slider associated with the material in the table. A dialog opens in which you can specify whether all users who have booked the material in the future should be informed by email. You also have the option of leaving a comment explaining the situation in the email. Once the process is complete, the material can temporarily no longer be booked.

If you want the material to be marked as available again, click on the deactivated slider. Another dialog opens in which you can decide again whether the affected users should be notified. After confirmation, the material can be booked again.

